Ross K. Jones is one of my oldest friends. Late at night, Ross and I used to “borrow” the local Art College’s silkscreen printing facilities and turn out thousands of hand printed stickers and posters, which we would subsequently and illicitly beautify the Bay Area with. (At least that’s what we told ourselves we were doing..)
Years later I would start a sticker printing company called Sticker Robot and Mr. Ross K Jones would start Tattooing for a living. Recently we decided to meet up and print some custom Tattoo Stickers for Ross’ business… And share the process on our blog.
For this Tutorial, we will be working with pens, brushes, paper, ink, paint, and Adobe Photoshop. Let’s Get Started…
The Painting…
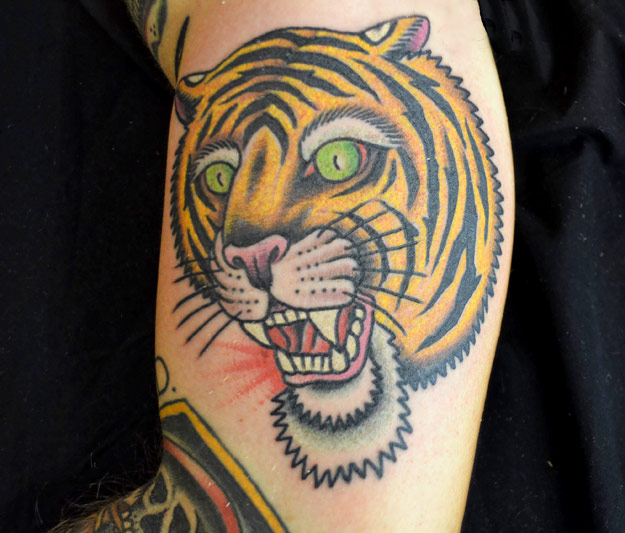
To get things started, we took a simple iPhone photo of one of Ross’ recent paintings. We could have started with a scan or a profesisonal photograph, but iPhone quality is perfectly suitable for this application.

Photoshop
We want a final sticker size of 3″ X 4″, so we set up a new CMYK photoshop document at 3.25″ X 4.25″ The extra .25″ will make for a 1/8″ bleed on all 4 sides.

Separating The Layers
We separated the tiger painting from the background into different layers, so that we could have more control over the colors. We did this by using the magic wand tool, highlighting the background area and copying and pasting it into a new layer in the background.

Hand lettering
Ross hand drew the lettering with a Sharpie. Once he was happy with his lettering, we scanned it in.

Placing and Sizing the Lettering
Once we scanned the lettering, we resized it and placed it where it looked best.

Mulitply
Within the layer palette, choose effects and go to Multiply. This will basically blend the layer with the background.

Magic Wand The Text
Using the Magic Wand Tool, from the tools palette, you can select the area around the text and delete it. At this point, you can use the Levels feature to darken the text and make it consistent with the artwork.

Adding the Border
From our original scan, we can copy and paste the painted border and size it proportionally, using the Transform tool (Option T) The border will bleed outside of the final cut size of 3″X4″ (Any area outside of the final cut size will be trimmed off the vinyl stickers later.)

Tattoo After Care Instructions on the Sticker Back
Sticker Robot can print black and white “After Care Instructions” on the sticker backing. We call it Sticker Back Printing. So once Ross’ customers peel the sticker, they can still retain the essential After Care instructions. The paper backing is nice and thick (like a business card) and you can add whatever information you like.

The Final File is Ready to Send to Press
Once the artwork is ready for press, having made sure to follow the instructions on our detailed Sticker Artwork Setup section, you simply fill out an order form here, upload your art and pay for your order. A couple weeks later, your custom Tattoo Stickers will arrive at your doorstep.

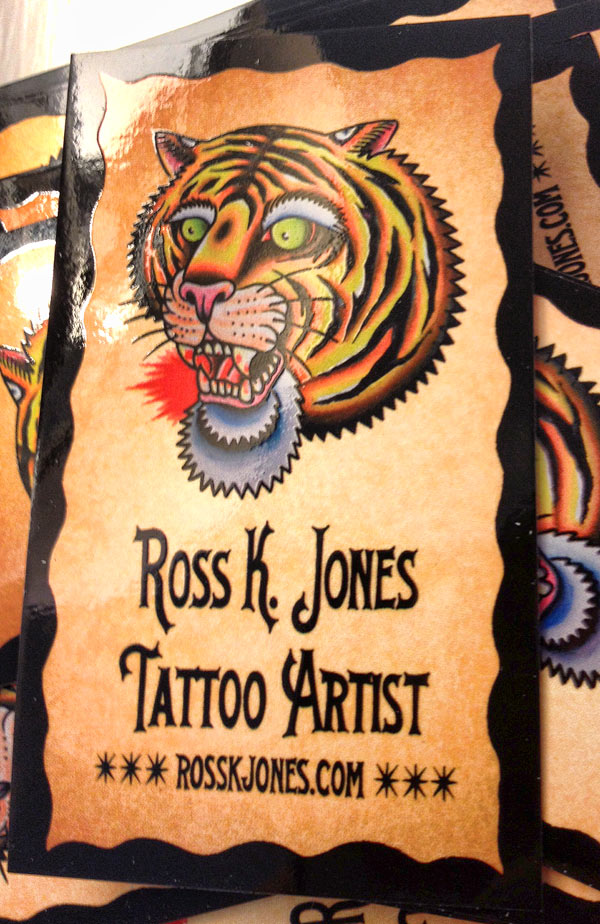
Here’s how Ross’ Tattoo Stickers Look!
Ahhh…. The beauty of silkscreen stickers. After each color is printed, one color at a time, one sticker sheet at a time, all of our stickers are coated with three thick passes of clear, UV resistant inks. Most tattoo artists have extremely high quality standards and always choose Silkscreen Sticker Printing over digital printing.

To see more of Ross’ Tattoo Work or line up an appointment, check his site, Ross K Jones