Famed illustrator Hydro74 shares his process for creating pixel effects in Adobe Illustrator.
We’ve printed hundreds of thousands of custom stickers for our friend Hydro74
Today he is sharing his technique on how to create custom pixel art, so you can add some Style, Flash, Pizzaaz to your next sticker design!
Check out the steps below and make Q-Bert Proud!
Step 1
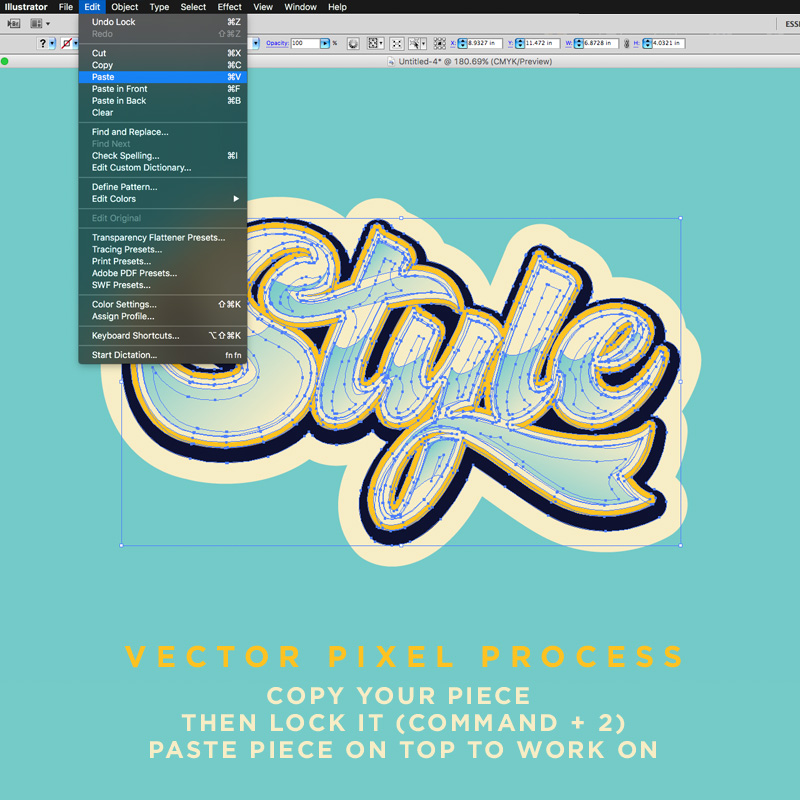
Copy the layer or group containing your art that you want to create the effect on.
Once copied, lock the current layer or group (Protip shortcut: command + 2).
This will prevent the original art from being affected, and instead paste a copy of it onto a new layer above the locked art. This is the copy that we will create the effect on.
Step 2
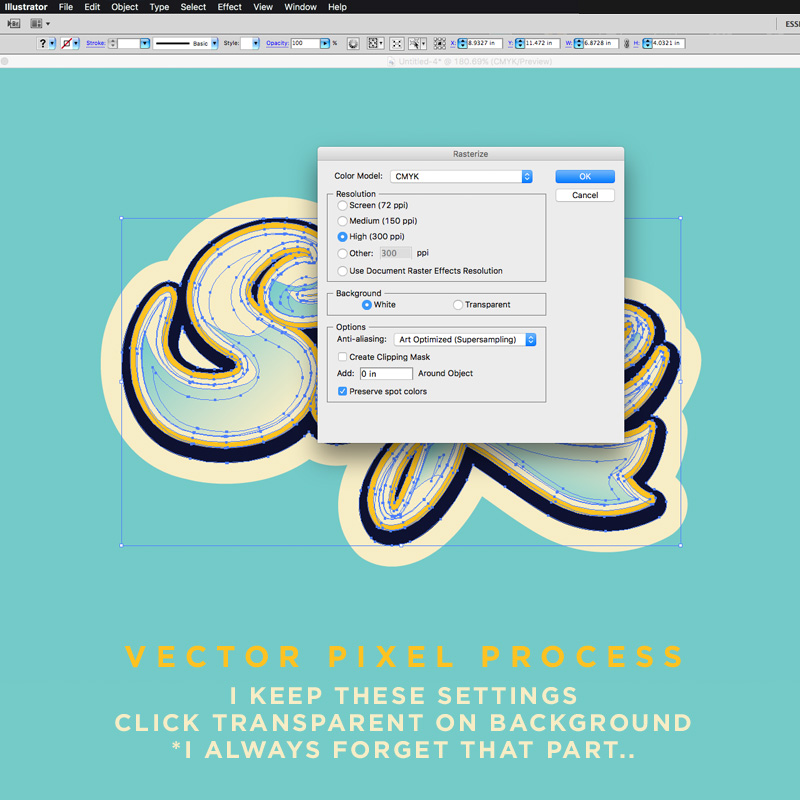
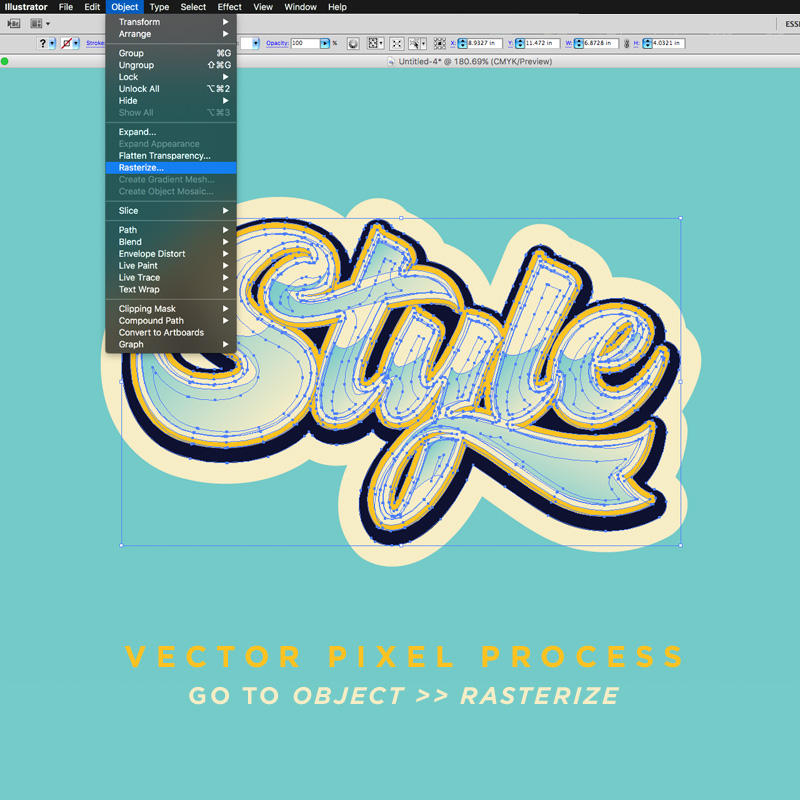
Select Object > Rasterize. Before commiting, be sure to toggle ‘Transparent‘ in the ‘Background‘ setting….
Step 3
Now click OK to rasterize.
Step 4
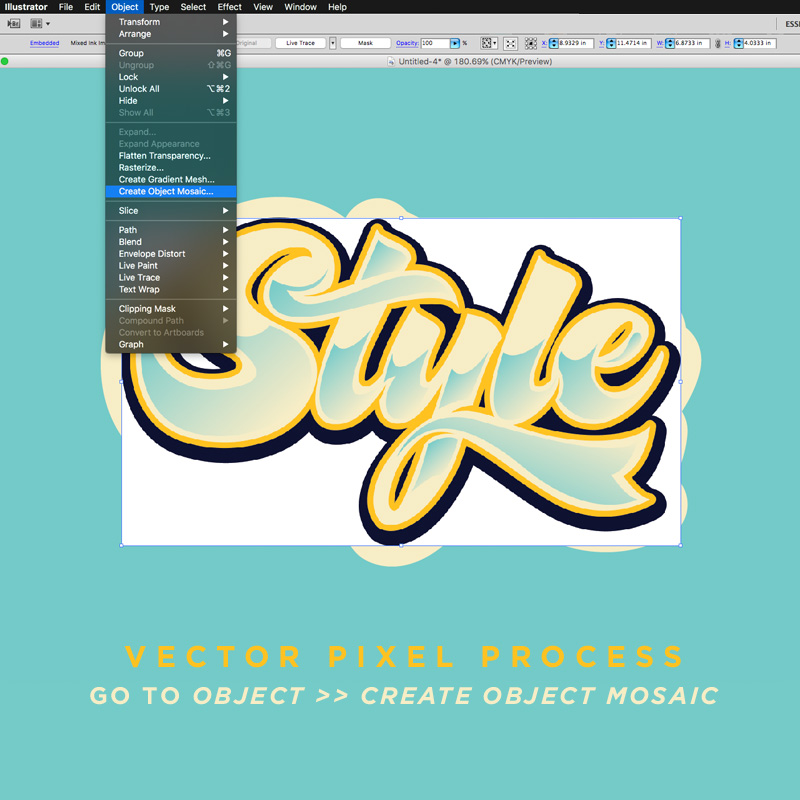
With your artwork layer now rasterized, go to Object >> Create Object Mosaic…
Step 5
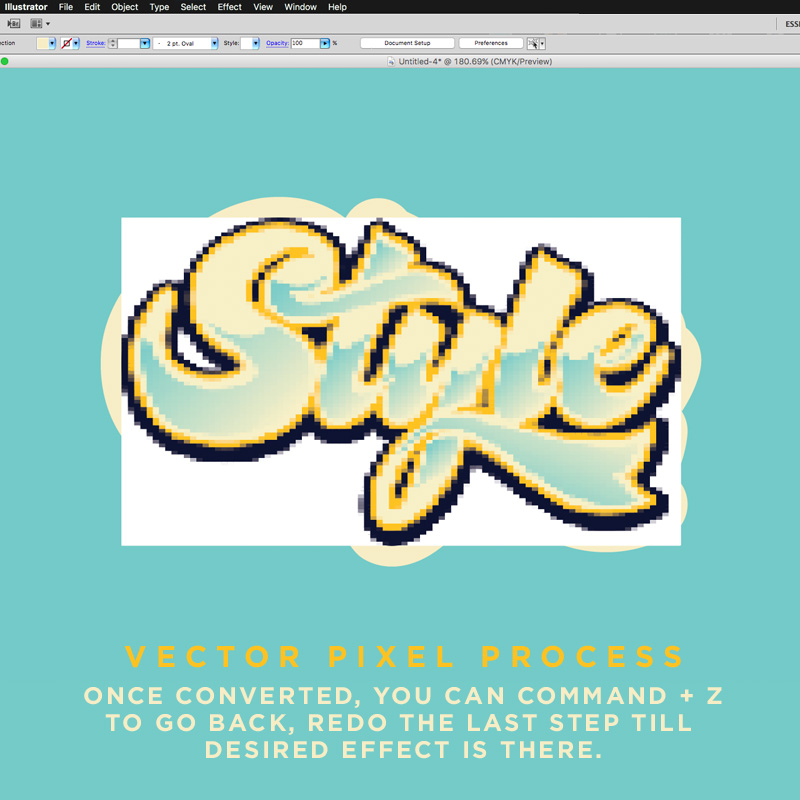
Within the Mosaic options, you should experiment with the Height & Width fields within the Number of Tiles. (Note: Be sure to keep the numbers identical to keep the ‘pixels’ square).
Using a higher number of tiles makes more tiles and can retain more details, while the opposite is true when lowering the numbers.
Step 6
Once you have a desired number selected you can see the results by clicking ‘OK’.
And don’t worry if you don’t like the results as you can easily Command + Z to undo & then redo the last step until the desired effect is achieved.
Step 7
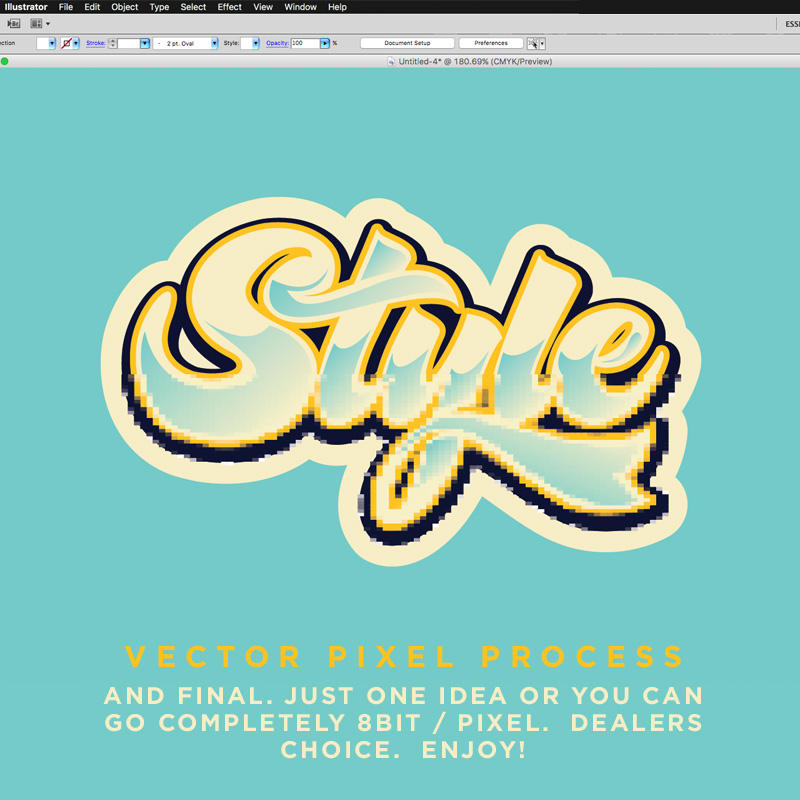
Now that you have your pixelized art to your liking, you can use the open select tool to select and delete portions of the art.
I like to experiment here to see what works.
Step 8
And once you’ve found the right look and balance you can save the file.
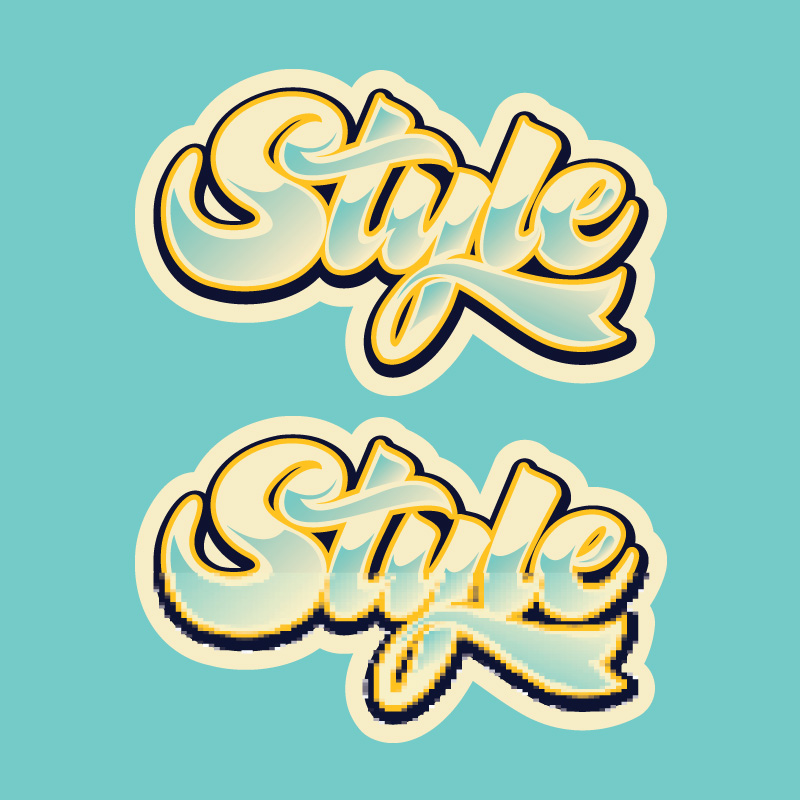
This is just one idea using this technique. You can use this to make completely 8bit /Pixel art from your vector work, or do whatever you wish. Dealers choice. Enjoy!
Thanks for checking it out. Let us know what youy think and if you have any pointers of your own!
